How to Implement Okta SSO
Last updated: August 18, 2025
Follow the steps below to set up Okta SSO for the Finch Dashboard. If you are using a different SSO provider or require a different sign-in method, please reach out to developers@tryfinch.com to request support.
OIDC (OpenID Connect)
For these steps to be completed, you will need the following Finch-provided information:
Sign-in Redirect URIs
Sign-out Redirect URIs
This information can be found in the Finch Dashboard.
Process
Follow these steps if you have an existing OIDC web application
If you have an OIDC web application set up that you would like to use for authentication, follow the steps in this section. Note this application must be both OIDC and a web application.
Log into the Finch Dashboard (
https://dashboard.tryfinch.com/login)Navigate to Settings > Security
Toggle on Organization Single Sign-On
You will see two Sign-In Redirect URIs and two Sign-Out Redirect URIs. You will use these in your Okta application later in the process.
Navigate to your Okta Admin Dashboard
Select the OIDC application you would like to use for authentication
Add the Sign-in redirect URIs and Sign-out redirect URIs listed in the Finch Dashboard
Back in the Finch Dashboard, add your Client ID, Client Secret, Okta Domain, and Identity Provider Domain
Click Save
In Okta, go to the Assignments tab and ensure all people and/or groups you would like to authenticate with this application are listed
Please note it may take 1-2 minutes for the settings to save.
Follow these steps if you do not have an existing OIDC web application
If you do not have an OIDC web application set up, follow the steps in this section to create one. Note this application must be both OIDC and a web application.
Log into the Finch Dashboard (
https://dashboard.tryfinch.com/login)Navigate to Settings > Security
Toggle on Organization Single Sign-On
Select OIDC as your sign-on method
You will see two Sign-In Redirect URIs and two Sign-Out Redirect URIs. You will use these in your Okta application later in the process.
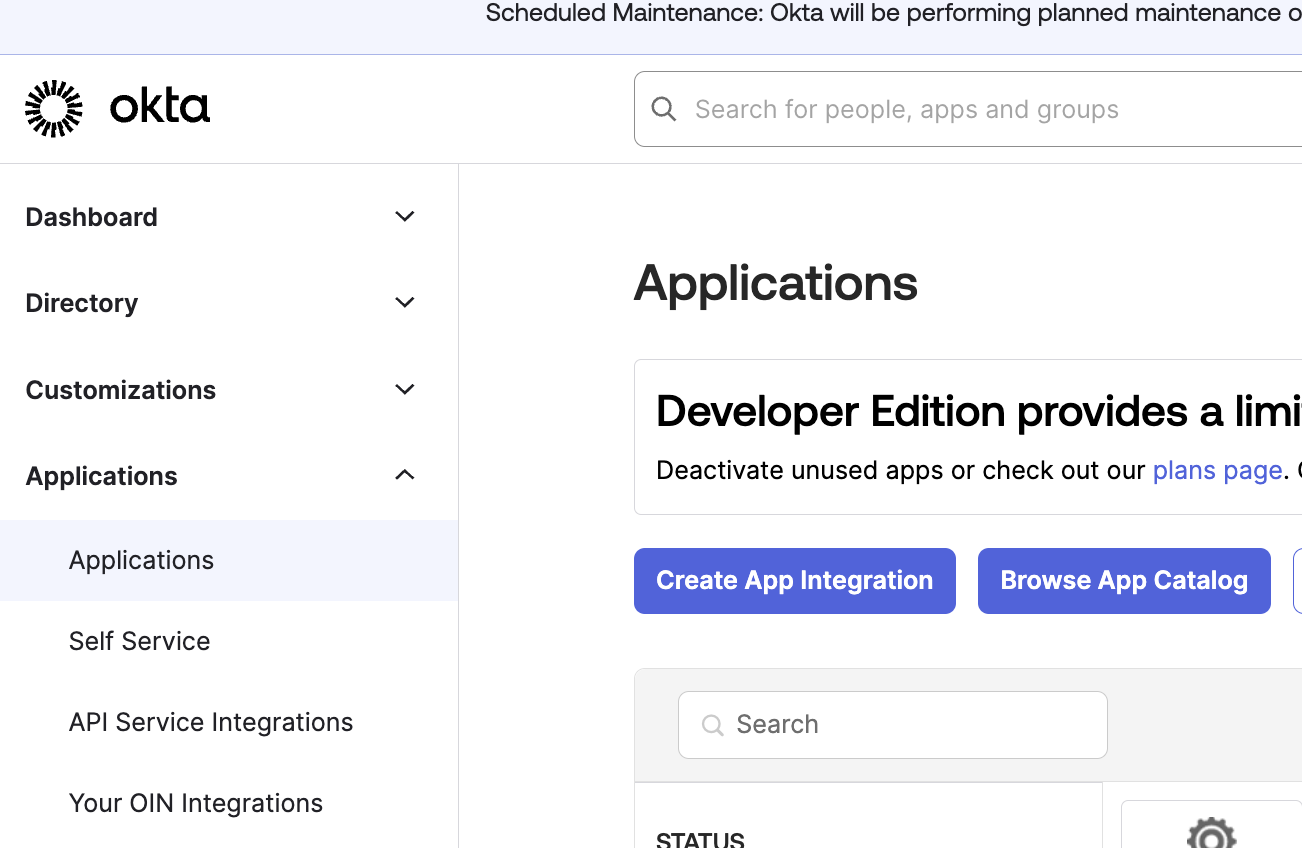
Navigate to your Okta Admin Dashboard
Go to the Applications page and click Create App Integration
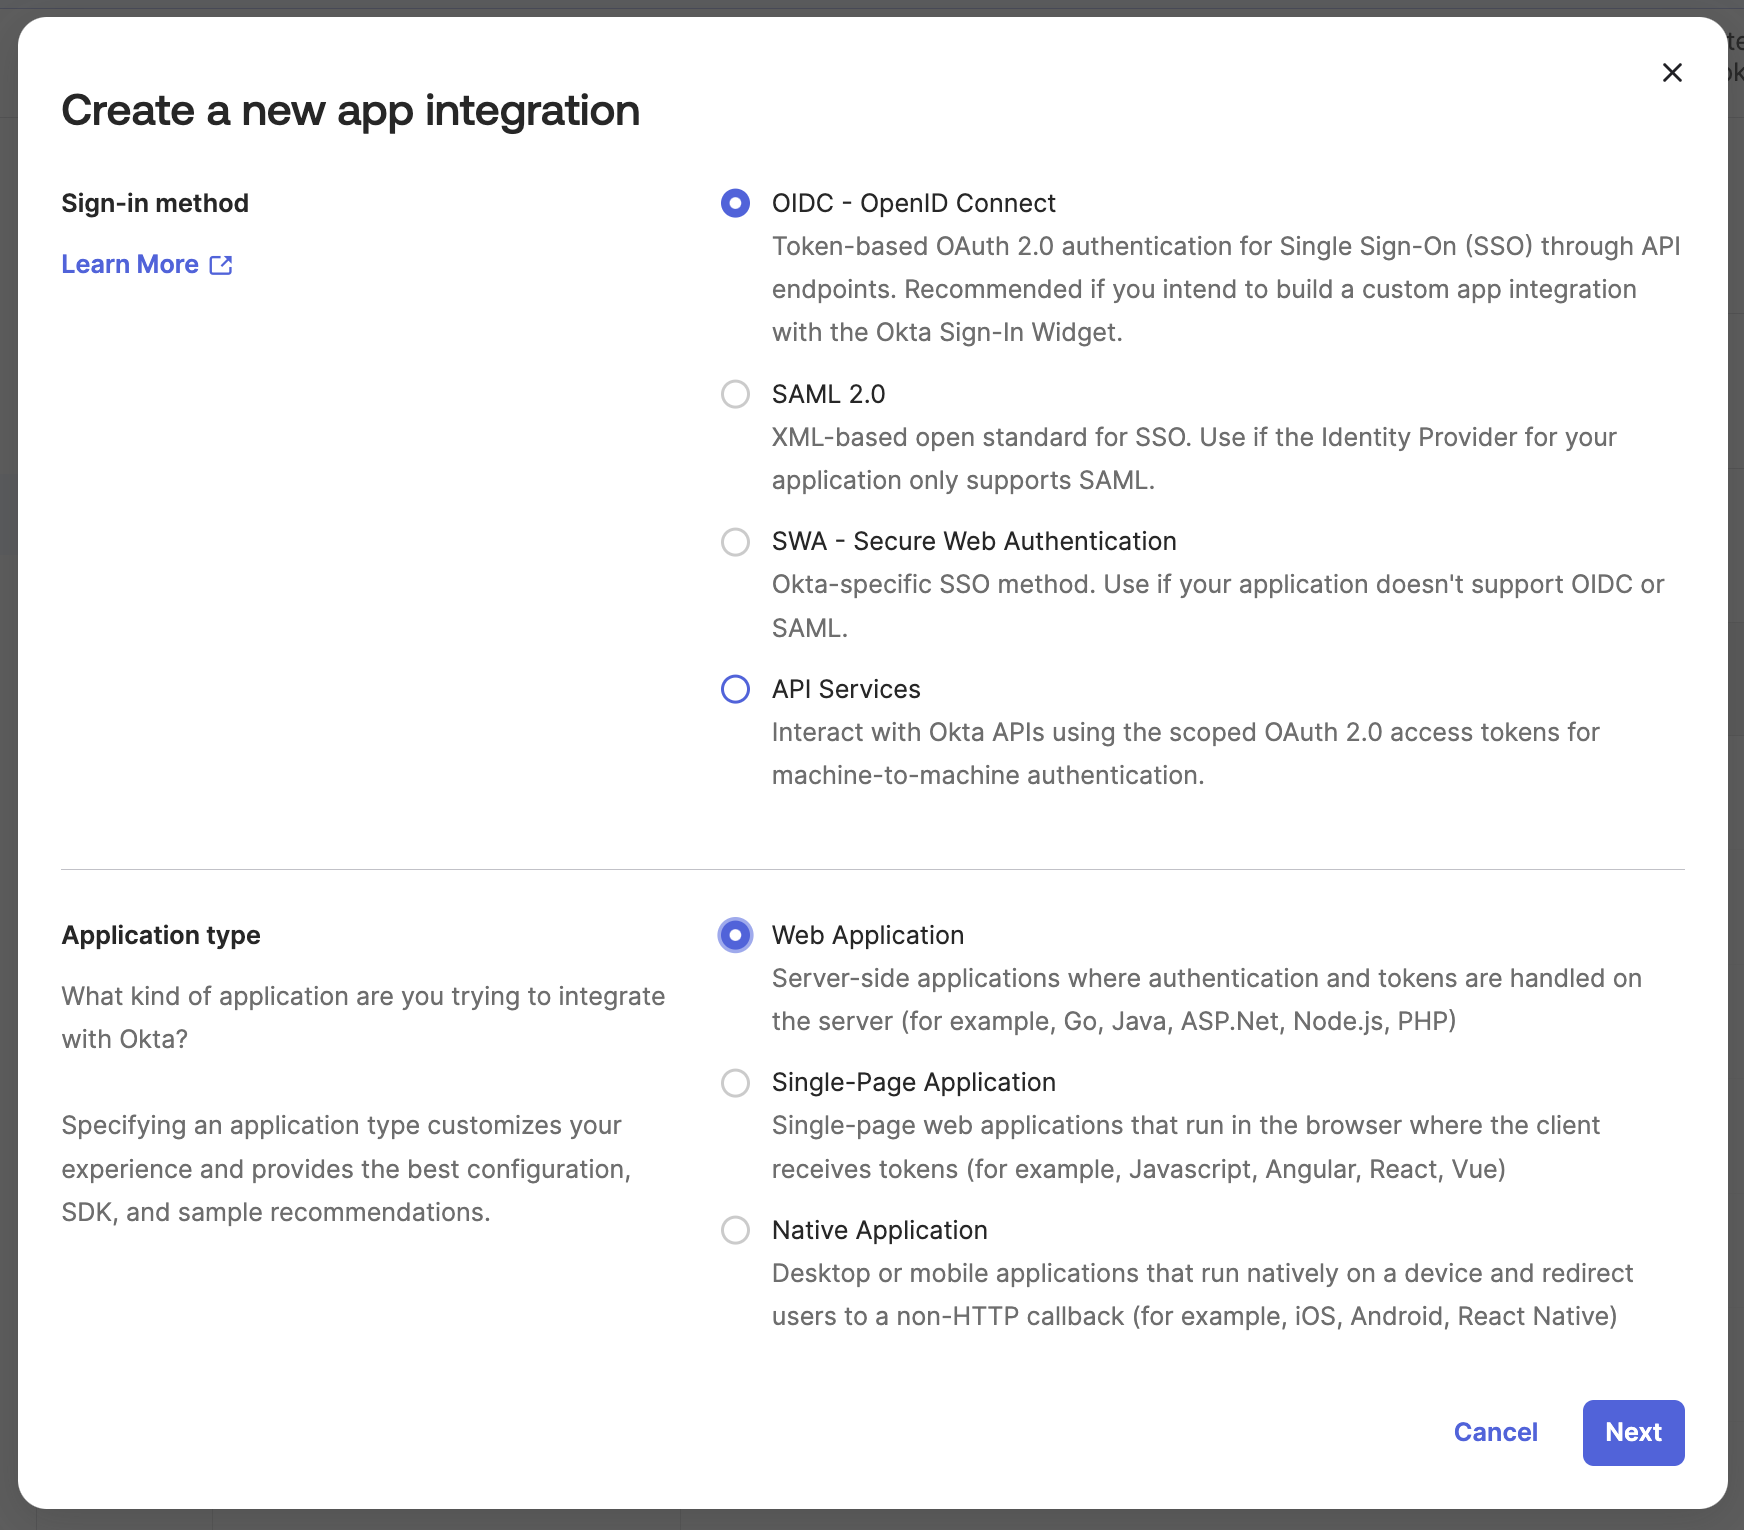
Select “OIDC” for the sign-in method and “Web Application” for the application type
Name the application something descriptive (i.e.: Finch application)
Add the Sign-in redirect URIs and Sign-out redirect URIs listed in the Finch Dashboard
Back in the Finch Dashboard

Add the Client ID, Client Secret, and Okta Domain for your Okta application
Enter all of the email domains that members on your team will use to sign in via SSO under Provider Domains
Click Save
Add a test user to the application (Note: this list will need to be expanded later to include all users you would like to authenticate)
Please note it may take 1-2 minutes for the settings to save.
After Implementing Okta SSO
Once Okta SSO has been successfully implemented for your account, follow these steps:
Manually log out of the Finch Dashboard and log back in
Upon your next login, you will be prompted with one of two options:
Link Accounts (Recommended): Connect your existing dashboard account to Okta SSO
Create a New Account (Not Recommended): Start a new account from scratch
Recommended Option: Link Your Existing Account
To ensure seamless access and avoid creating duplicate accounts:
If you log in with an email address that matches an existing dashboard account:
You’ll be prompted to log in to your Okta SSO if you aren’t already signed in
Your existing account role will remain unchanged
NOTE: If you are new to the Finch Dashboard and have no prior role, you’ll automatically be assigned the "Member" role
After completing this process, you’ll gain access to the Finch Dashboard with your existing permissions
Please note, it can take a few minutes for the accounts to merge.
Not Recommended Option: Create a New Account
If you select the option to create a new account:
A completely new account will be created, separate from your existing Finch Dashboard account
This new account will always route through Okta SSO for sign-on, preventing access to your original account. You will be assigned the "Member" role by default
Important: If this occurs, and you need to be assigned a role other than "Member", you will need to do one of the following:
Contact our support team to resolve the issue
Alternatively, another Admin user on your team can help rectify the situation and update your role